(Part 3 of the series, "Iron Man.")
Chapter 95

In this, the third part of what shall surely be known as the Great Iron Rebuild of 2012, we'll turn our attention to the refurbishment of the soleplate, complete the disassembly, and prepare for the final cleaning and reassembly next week of our venerable General Electric F50, which will then be ready for another half century of dependable service.

As with any restoration project, (as anyone who has ever owned a classic car will tell you,) the only limit to perfection is how much time and money you want to spend. You can build a hundred-point concours d'elegance winner, or a just a driver to cruise around town. As we saw last week, the soleplate has some, well, issues: viz., the hex-head mounting screws are rusted in place, and the steam lid is warped. We've gone as far as electrolysis can take us. If I were truly inclined to make this perfect, there are tricks to use to get those screws out. I could soak the screws in penetrating oil for days, freeze the soleplate, then expand the metal around the screws with a butane minitorch. If all else failed, I could just drill out the screws and tap new threads.
Regardless, the "pretty" way is to remove all the bits, take all the steel down to shiny metal, flatten the steam lid, polish all the aluminum to a smooth gloss, machine the mating surfaces, make a new gasket, and put in new stainless machine screws. It would look better than new and last for a hundred years...but you'd never know it was there.
Well, we're not going to do that. We're making a runner. It'll look good on the outside, but everything "under the hood" will just be made to work, aesthetics be damned.

First, we'll patch the blown-out steam box gasket. For this, we will use the best metal bonding material known to man: JBWeld. If you're not familiar with it, it's a two-part high-temperature, high-stress epoxy. Before it cures, it's like thin putty. When it's dry, you can machine it like metal. The Kwik-Weld version here has a six minute working time, and cures in six hours. Get a wooden skewer, and something to mix on (I'm using tinfoil).

Dispense a small and equal amount from both tubes, and mix them together. The clock is now ticking...you only have a couple of minutes to work with it.

Using the pointy end of the skewer, pick up a bit of the putty, and roll it in along the gasket line with a pull-and-twist motion to the skewer. You'll probably get three or four inches along before the putty starts to cure. Just smooth it down in the crack and make up another small batch.

Don't forget the bit down inside, under the mounting plate. With a steady hand you can get the skewer in and roll the putty just where you want it.

The lid sealed, using just enough material to close and seal the gaps. After it cures, you can sand off the excess along the sides for a neater finish...but functionally, the steam box will now work like new and direct all the steam down...instead of up, out, in, and every direction except down.

Now let's turn our attention to that sole. Ugly you will agree.

Here's where the elbow grease comes in. If you don't have an orbital sander of some sort, a sanding block will do the job -- eventually. Start coarse, say, 60 grit or so, and using longitudinal strokes, start shaving away. The sole is warped somewhat, and sanding against a flat block will get everything on the level -- again, eventually. (This is a slow and messy process. Black aluminum dust will get everywhere, so be warned.)
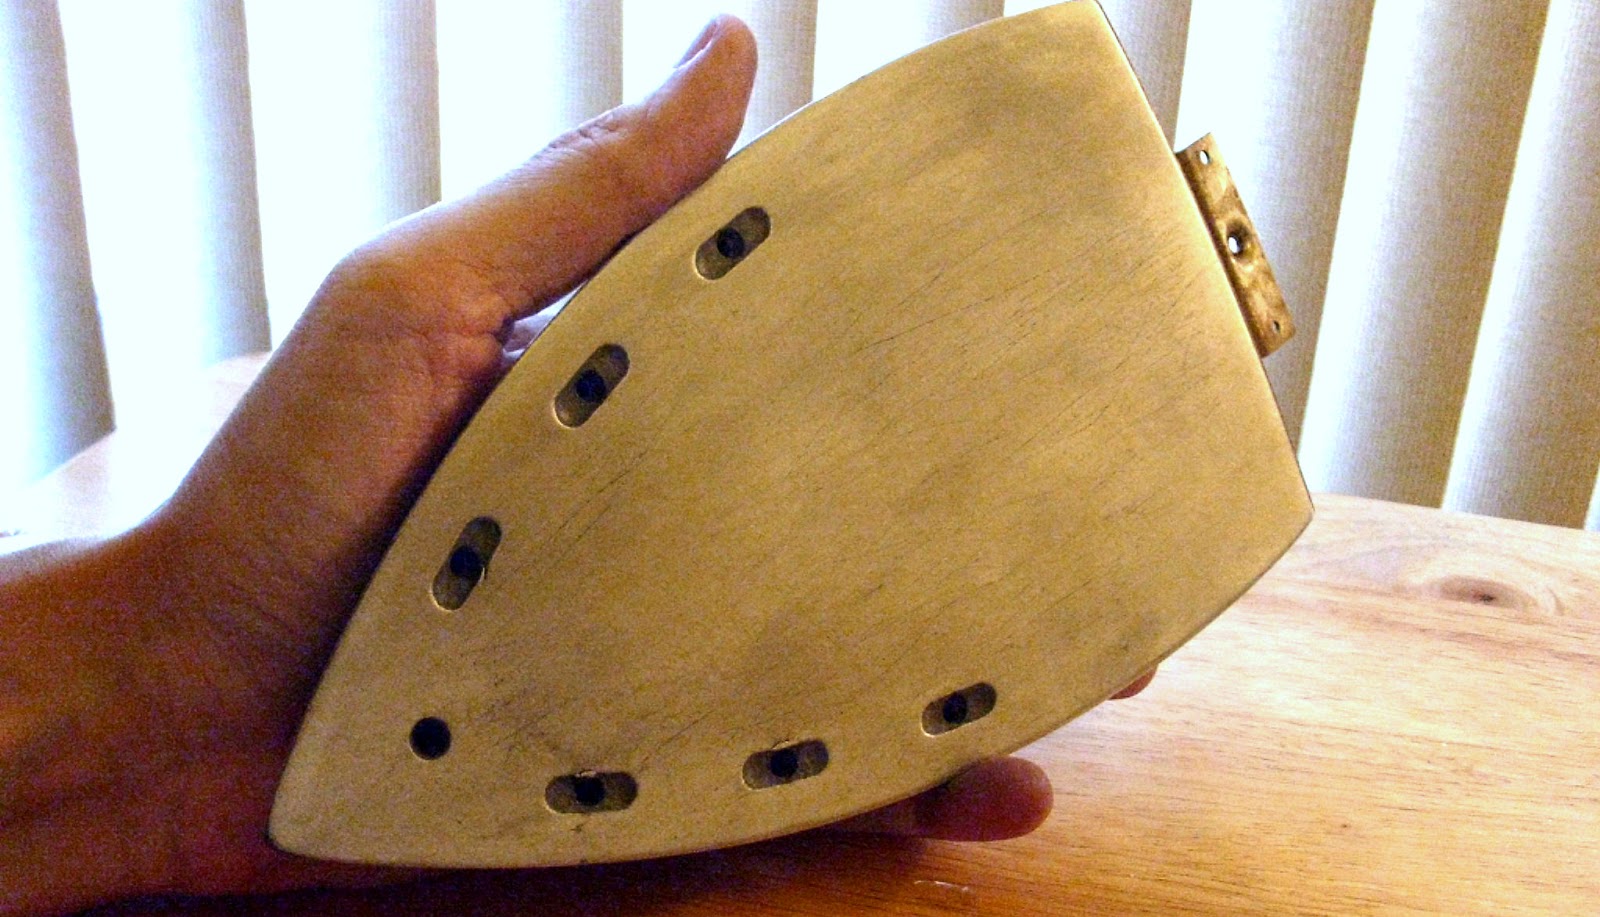
You can go as far as you want to with this. You can just take off the scorch and discoloration if you want. You can take it to the next stage and rub out the major scratches and knock down the high points. Or, you can spend a week, get it dead-level, and progress through finer grit paper until you are wet-sanding with 2000 grit and the sole is mirror-smooth. It's up to you. This pic is the tail-end of the knock-down stage. Minor scratches don't worry me, so I won't go much further than this point.

With the soleplate sorted out, let's turn our attention again to the top end of the iron. The only visible fastener is a hex fitting under the steam dome, so let's take that off.
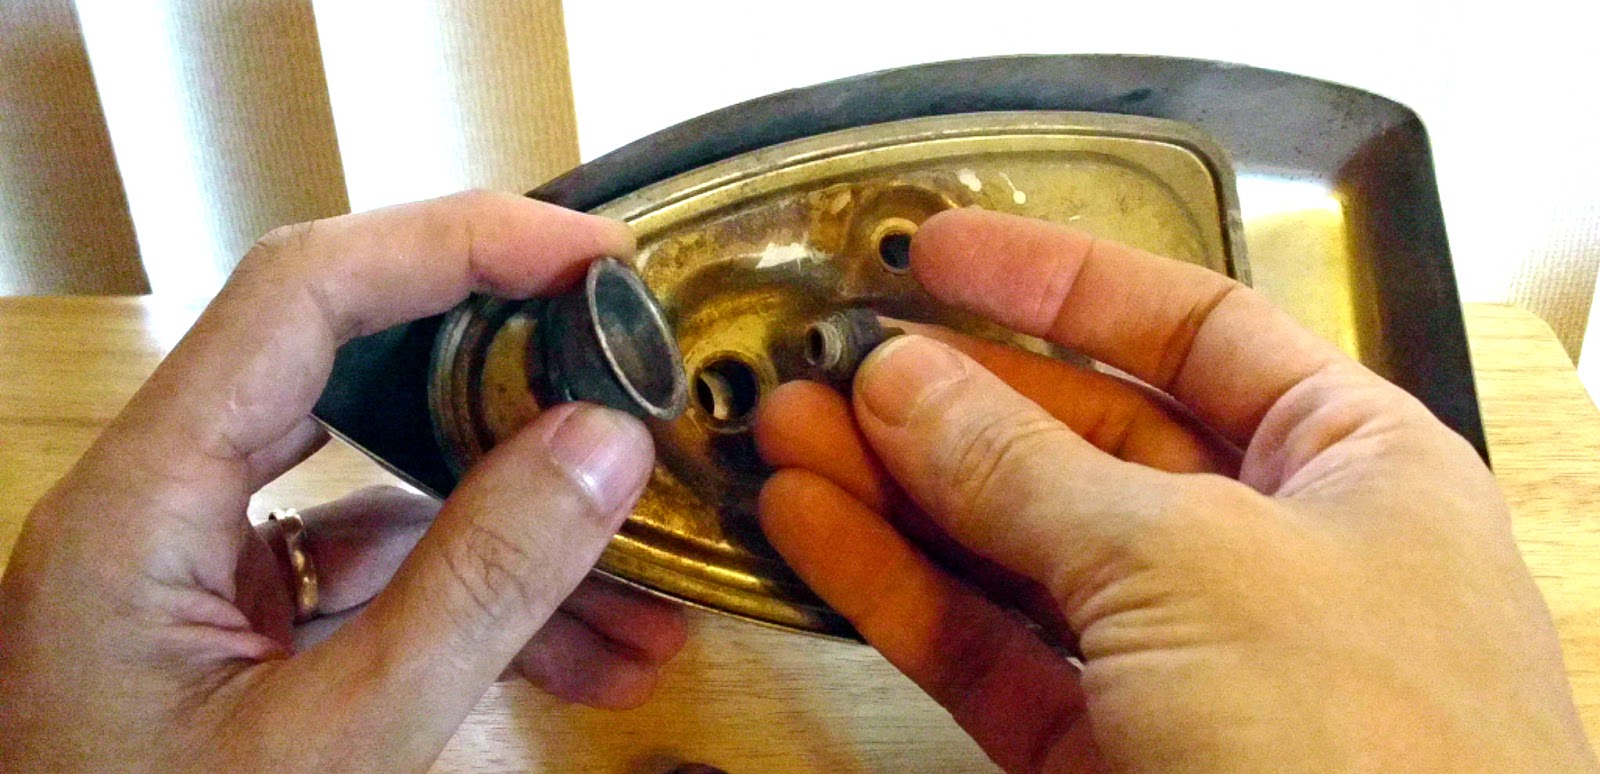
The hex fitting, it turns out, is a plug with a small hole in it. The hole is stoppered with a needle up inside the reservoir. Releasing the steam button on top of the iron retracts the needle, permitting the water to drip slowly through the plug onto the soleplate, where it flashes into steam. The fitting also holds on the steam dome. The dome presses tightly down onto the hole in the steam box lid, preventing steam leakage.

There's no apparent visible way to remove the reservoir...but push lightly against the reservoir with one hand against what feels like spring pressure, and with the other hand, rock the fill funnel back and forth...

...until it works free. The fill funnel is the only thing holding the reservoir in place.

The reservoir pulls straight down out of the housing.

Now we see the source of that spring resistance: a spring ring at the bottom of the fill neck. It pulls right off. That spring insures that the steam dome presses firmly down against the soleplate once the housing is bolted in place.

Pull the spring-loaded needle straight out of the fill neck.

Keep the needle safe, don't let it get damaged! It looks a bit like a gravity-feed carbureutor's needle and jet, but a more accurate parallel would be the stopper in a bathtub. It doesn't have to be a perfect fit to work.

With the reservoir out and stripped, test it for leaks. Fill it up and see if there's any seepage. If there is, and you're handy with a soldering iron, that's the "proper" way...or you can break out the JBWeld again and plug any pinholes.

Turning to the underside of the housing, the handle is held on by three hex-head screws. Remove those...

And the handle lifts right off.

Then, we can remove the controls. The thermostat lever is held on by a friction fit. Put your thumbs on either side of the handle like this, press down and slide forward...

...and the thermostat assembly slides right out of the handle.

The assembly is stacked as shown: lever on the bottom, setting display on top, with a spring plate sandwiched between. The spring plate holds the display in place, and gives some drag resistance to the lever.

And finally, the Big Red Button.With everything else out of the way, the button simply drops out of the handle.
And that's where we'll leave off this week: with the top half in bits, and the bottom half ready to go. Next week, we'll clean and detail the showy part, button everything back up, and take our new car --er, iron-- for a test drive!
Stay tuned.
Click here to go to the next essay chronologically, Part Four of Iron Man.
Click here to go back to the previous essay chronologically, Part Two of Iron Man.
Click here to go back to Part One of Iron Man.
Click here to go back to the beginning.
Click here to go to the next essay chronologically, Part Four of Iron Man.
Click here to go back to the previous essay chronologically, Part Two of Iron Man.
Click here to go back to Part One of Iron Man.
Click here to go back to the beginning.
No comments:
Post a Comment